Checking Centrality
- Calibrate the air gaging system using the max and min masters in a normal manner.
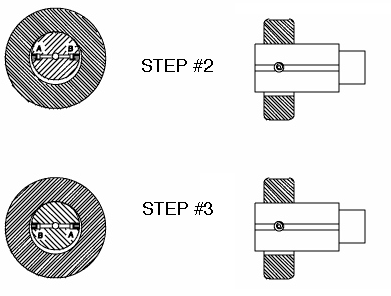
- Orient the tool with a horizontal centerline and with the jets located horizontally and located midway within the width of the maximum setting ring. Observe the exact readout indication.
- Rotate the tool so that the jets are reversed 180 degrees. Observe any difference in the indicator reading from step 1 above. Should any differences greater than two divisions on the scale be encountered, the tool should be considered for overall repair.

See Also


A New Dimension In Precision Measurement
.
(860) 677-2813
Toll Free 877-521-5818